Easy Crock Pot Breakfast

Looking for an easy Christmas morning breakfast?? or any morning!? look no further. This recipe is delicious and simple and did I say delicious? haha I made this for Sunday morning before church, when my SIL came for a visit. The 3 of us snacked on it all day. It was super delicious. I just popped my crock pot on warm a few minuets before I wanted to eat it again.

Without further ado….

Ingredients

12 eggs

1 bag of frozen hash browns

1 16oz roll of sausage (I used Mild)

1 medium yellow onion (diced)

Cream Cheese to taste ( I used what I had. About 1\4 of a cup)

16 oz of shredded cheddar cheese

1 cup of Milk

Salt and Pepper to taste

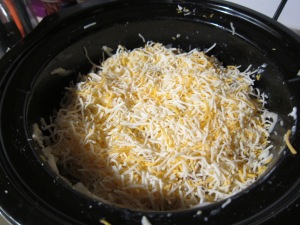
Start off by browning your sausage. Once it is all cooked up add in your chopped onions and saute them together for 5 minuets. In a bowl whisk together 1 cup of milk and the 12 eggs (cracking 12 eggs is no joke! watch the shells). Spray your crock pot with some cooking spray and turn it on low. You can add all this to the crock pot but I think its a little easier to mix it in a bowl first. Add the hash browns,  pile on the cheeses, and add in the sausage onion mixture. Mix everything up evenly than add to the crock pot (unless its already in the pot). Then pour the egg over everything in the crock pot. Make sure it is spread evenly. Cover in cheese (if you want) Cook on low 6-8 hours. I put it in just before bed, like 6.5 hours before I had to get up for church.

IMG_6072 IMG_6073 IMG_6074 IMG_6075 IMG_6076 IMG_6077 IMG_6078 IMG_6079 IMG_6080This is what it looked like when I woke up! (eh?) it tastes yummy, just stir it up a bit.

The Best Baked Meatballs

Hey cooker crew! 

(cue nerdy greeting…) So I found this (as I do most recipes) on the mother of all sites… Pintrest. Best site ever. Unfortunately, sometimes its hard to find the original person who makes up these delicious creations. This meatball recipe was just chillin in the “about my pin” section. So I’ll link it to my exact pin but It doesn’t link to a website.  These little creations were great just for a quick dinner. Hamburger meat is on sale every once in a while and I normally grab a whole bunch up and freeze some. I made these meatballs and made a little too much “batter” and just froze it ingredients and all for next time. Love freezers! Anyway I don’t have a ton of fun pictures for this one  because I made it all up and then was like “oh yeah my blog….” so sorry folks. I only have before and after shots. (Apparently I was too hungry to take a completion shot so…)

Ingredients 

1lb hamburger

2 eggs (beaten with 1/2 cup milk)

1/2 cup grated Parmesan

 1 cup panko or bread crumbs (I used panko because I had some!)

1 small onion- minced

2 cloves garlic- minced

1/2 teaspoon oregano

1 teaspoon salt

 freshly ground pepper to taste

1/4 cup minced fresh basil ( I didn’t have basil… I used whatever green spice that smelled good so?)

Mix all ingredients with (clean!) hands. Form into golfball sized meatballs. Bake at 350 degrees for 30 minutes.

IMG_6046

This literally made tons… I had two sandwich bags left over (can you tell I ran out of gallon freezer bags?) so for the two of us it was a lotta meatballs! But they re heat nicely (surprisingly?). These were good, Brian liked them (about mid range, not too special not bad) and I liked them about the same. 

Baked Peaches

Super easy dessert or side….

Ingredients

Halved Peaches (however many you want)

1-2 tbs per peach half Brown Sugar

sprinkle of cinnamon

1 tbs butter per peach half

Self explanatory! Pre-heat oven to 375-400 (depending on your oven)

Cut those peaches in half. I had Brian help me since I’m such a weakling. Evenly distribute the butter over the peach. Sprinkle the brown sugar over the peach and add a pinch of cinnamon on top of that.

Pop them in the oven for about 15-20 min (depending on how mushy you want your peaches)

Serve as is or Ala mode (Vanilla ice cream!!)

Delicious! Enjoy!

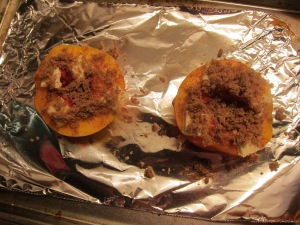
Before

IMG_6081 IMG_6082

After!

IMG_6085 IMG_6086

Ratings: I love them and how easy it is to make. I like fruit but sometimes I need to dress it up a little bit to eat my daily recommended amount… Brian was a fan too and even ate half of my half (that he swears he didn’t want!)

Lime Cilantro Chicken Soup

Yummmmy for fall ( or literally whenever you want I just think its tasty to warm up) I tried out this recipe for Lime Cilantro Chicken Soup. This site has great pictures and even breaks down the price. Mine is a little different than that one, budgetbytes likes a little bit of a hotter soup than I would try.

Ingredients:

  • 2 Tbsp olive oil
  • 1 medium yellow onion
  • 2 stalks celery
  • 4 cloves garlic
  • 2  chicken breast ( I just picked out two good sized chicken breasts and it was plenty of chicken)
  • 6 cups chicken broth*
  • 1 (14.5 oz.) can diced tomatoes ( I found some with lime juice and cilantro!)
  • 1 tsp oregano
  • ½ Tbsp cumin
  • 1 medium lime
  • ½ bunch cilantro

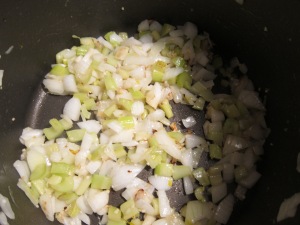
Heat up 2 tbsp of olive oil in pan on medium heat. Chop up your onion and celery, add both with garlic into pan and saute for about 5 minuets.

IMG_6014 IMG_6015 IMG_6019 IMG_6020

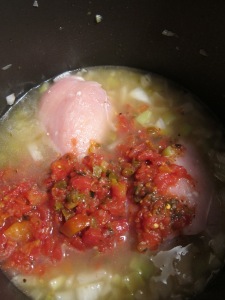
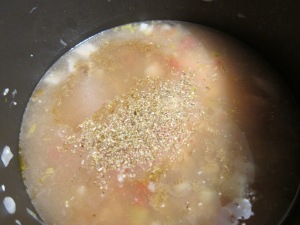
Add everything else to the pot… bring to a boil. Once the heat is reached set, reduce it on low, simmer the soup for about an hour.

IMG_6021 IMG_6022


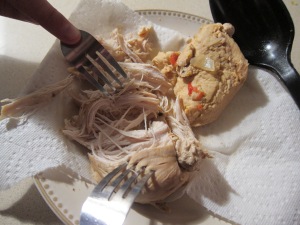
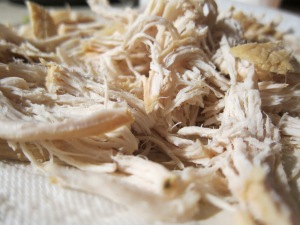
Remove the chicken and shred it

IMG_6023 IMG_6024 IMG_6025


Add the chicken back to the soup. Cut up cilantro, and add lime juice over. Add chicken and cilantro to the soup. Squirt as much lime as you can into the soup.

IMG_6027 IMG_6029 IMG_6031

YUMMMM!!! I thought this was super super yummy. BRIAN on the other hand ate it (like he always does) but isn’t a big cilantro fan….and lets just say for the first time I was the only one eating this as leftovers. He missed out though because it heats up SOO well. Only thing I would change, I would add some rice! We had some rice leftover from a other meal and I just popped some in the bowl and microwaved it all (1 min stir 1 more min). Flipping delicious.


Spinach and Artichoke dip without the Spinach…

Hey Everyone!

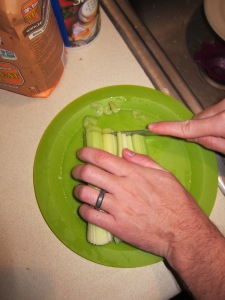
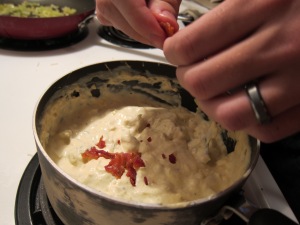
So classic me (seriously so classic its not even funny) I let my spinach go bad. I assigned Brian to clean and cut the Spinach so I thought I was all good to go. I start melting my cheesy goodness together and Brian tells me he doesn’t believe this spinach is the best… and we should throw it away. So what am I going to do with all these Spinach and Artichoke dip ingredients with out SPINACH?! First we thought we would just eat it with out the spinach, but something Brian has learned about me is I always add something to my recipes… so I couldn’t settle for that. I looked around at what we had…celery, that would be yummy, so I gave that to Brian to chop. He was working at chopping into tiny pieces when I remembered bacon makes everything better… so we fried some up and crumbled it in the dip. THEN sauteed the celery in the bacon grease (healthy I know). Anyway in conclusion yum. Brian loved it and I think it turned out well.

Since this is such a classic recipe for me I really eyeballed and made up how much of everything I put in the dip.

1 block of cream cheese

16 oz of Sour cream (I left about 1\4 in the tub, but if you like more sour cream feel free to add, Brian likes a little less)

1\2 cup Parmesan Cheese (how ever much you want, I did about 1\2 a cup I’d say)

3\4 cup Mixed shredded Mexican cheese (approx- really whatever was left in my bag)

4-6 slices of bacon (depending on the size- check my picture I think I had 4 or 5)

1 can of artichoke hearts

Salt to taste

1-2 tablespoon(s) Parsley (or whatever good smelling green seasoning you have, that’s the beauty of these recipes)

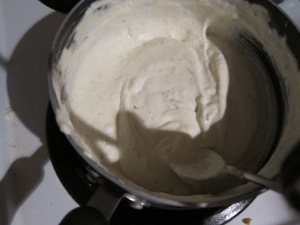
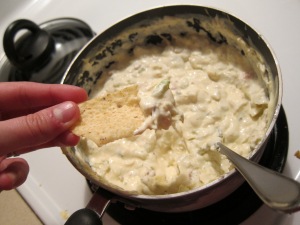
Melt the cheese together. We had to chop our artichoke hearts a little bit more, then ad them to the mixture. I melt and keep these on low heat (3). Cook the bacon a little crispy so it can crumble easily. Cut the celery and then drain most of the bacon grease, we didn’t want a bunch of extra grease in the dip. Saute the celery for about 5 minuets. Crumble the bacon in and add in the celery. Enjoy with chips or toast!

IMG_6048

IMG_6049

IMG_6050IMG_6051IMG_6052IMG_6054IMG_6055IMG_6057IMG_6058IMG_6061IMG_6062

Welcome

Welcome to Cooking with Courtney!

I’m so glad you’ve found your way to my cooking blog. My objective here is to try out a bunch of recipes and let you know how they taste. I make easy to follow, tasty (sounding), food. I’m a college student and a newly married one at that, so I am always looking for pretty cheap but super yummy meal ideas. Click above to find out more about the rating systems I use.

Feel free to leave a comment (should have a little bacon symbol encouraging you to post) about a new recipe you want me to try and review or just to tell me what a great job I’m doing.

cropped-img_4846.jpg

These are delicacy’s me and my husband enjoyed on our honeymoon cruise on The Holland America cruise line.

Here’s a nice little video about shrimp pie.

Chocolate Peanut Butter Waffles

Can I just say? Yum. I am such a fan of these. Brian listed these as “Very Good”, so you know they are yummy. I adapted this recipe from this website. Their version is a great starting off point for me but I just added a few changes.

Ingredients (except the milk)

Ingredients (except the milk)
Side note! use any brand of anything you want- but I got Skippy’s natural chocolate peanut butter for that part.

IMG_5993

Almond milk is sweeter than milk so it is yummy in recipes like this. It is also much healthier and has 50% more calcium and additional health benefits than normal milk. Plus its soy free and lactose free for those with allergies.

6 T brown sugar
1 1/2 C flour (I used whole wheat flour and YUMMMM)
2 1/4 t baking powder
3/4 t salt
9 T chocolate peanut butter
1/3 C butter, melted
1 1/2 C almond milk
3 large eggs

FIRST mix your dry ingredients in one bowl (brown sugar, flour, baking powder, salt) make sure there are no big lumps and its a smooth mix.

IMG_5984

NEXT melt up your butter and whisk in the peanut butter together (I tried to stir it normally for a second and the whisk just made life so much easier)

IMG_5985 IMG_5986 IMG_5988

ADD the eggs and the milk to your dry mixture. When that is all nicely mixed THEN add the butter and peanut butter mixture to your main bowl.

IMG_5992 IMG_5993 IMG_5994

Turn on your iron and spray it with a little non stick cooking spray. Let ingredients meld together while the iron heats up.

Let sit 5 min while it heats up and ingredients meld together.

Let sit 5 min while it heats up and ingredients meld together.

When everything is heated- add the correct amount of batter depending on your waffle iron. Mine had a handy cup with a “fill” line. I estimate that it’s about 1\3 of a cup. You should be filling your irons most of the way full but not all the way. If you fill ever nook and crevasse with batter, and close the iron, it WILL over flow and ruin your whole life.

IMG_5999 IMG_6000 IMG_6001

They go great with honey, or just plain syrup, even a little powered sugar, but I think they tasted best with nothing on top (for me) Brian thinks syrup enhances most foods so. Fresh fruit is almost a must here. These filled me up so nicely. I think the whole wheat flower is really what makes it filling. It tastes good and these are actually pretty healthy. This batter mixture made me 5.5 waffles. I went ahead and made all the waffles I could and froze the ones we didn’t eat.

IMG_6004IMG_6002IMG_6003